
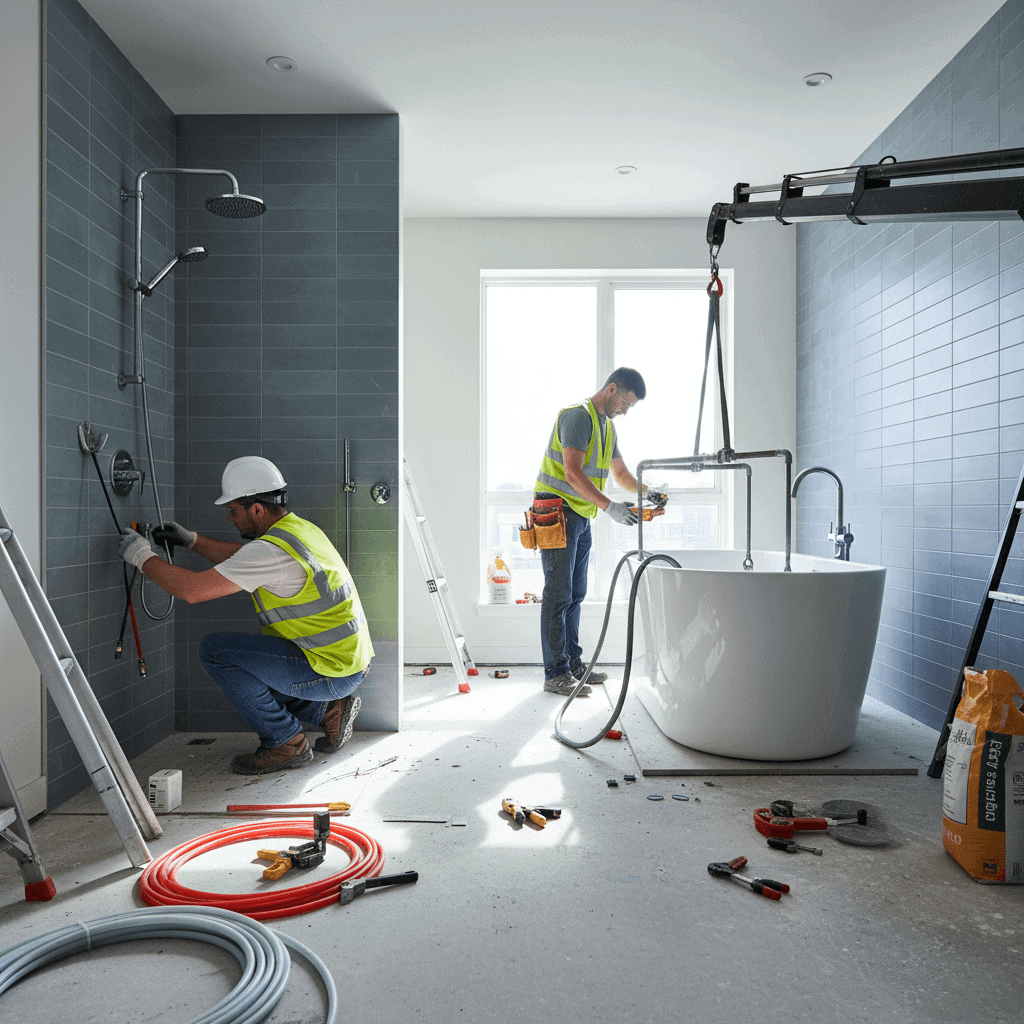
Installing Showers and Tubs
Installing showers and tubs is one of the most visible and rewarding home updates you can make. A well planned swap or new build improves daily comfort, raises resale appeal, and can reduce long term maintenance headaches. This article walks through the practical steps, common pitfalls, and smart choices that lead to a durable and attractive result.
If you are thinking about a full replacement or a new installation in an addition, you will find clear examples and actionable tips below. Whether you are a confident DIYer or someone leaning toward hiring a tradesperson, the information here will help you set realistic timelines, budgets, and expectations.
Installing Showers and Tubs Why careful planning matters
Good outcomes begin before the first tool appears. Planning reduces surprises that add cost and time. Start by listing needs such as accessibility options, storage, fixture styles, and how the space will be used. A family with young children may favor a tub for baths while a couple that values quick morning routines may prefer a curbless shower with a bench.
Measure the room and locate plumbing lines. Old houses often have drain and supply locations that do not match modern fixture placements. Moving a drain can be one of the biggest cost drivers since it may require opening subfloor or slab work. If the drain and water lines can stay where they are, installation time and expense drop dramatically.
Choosing materials and fixtures that fit your goals
Material choice affects durability, look, and service needs. Standard options include acrylic and fiberglass which are budget friendly and lightweight. Porcelain enamel on steel offers a different finish and stands up to heavy use. Solid surface and stone composite give a premium look and can be repaired more easily if scratched. For showers, tile gives a custom aesthetic but requires careful waterproofing and grout maintenance.
- Valve and trim Select a quality valve that meets local codes and has a reliable cartridge. A single handle valve saves space while a thermostatic valve provides temperature control and scald protection.
- Drain type Choose a reliable drain assembly and check flow rates for tubs and showers. Linear drains work well with curbless installations but need correct slope planning.
- Shower walls Prefab panels are quicker to fit. Tile needs a waterproof substrate such as cement board or a membrane backed system.
Measuring and layout tips for a successful installation
Accurate measurements and a thoughtful layout prevent tight fits and awkward access. Record the rough opening width and height, the centerline of the drain, and the depth of the room. If replacing an old unit, note the distance from finished wall surfaces to the center of the drain and to the studs. These numbers matter if you plan to install a new tub or a different style of shower enclosure.
Common measurement mistakes to avoid
- Not measuring from finished surfaces. Flooring and tile add thickness and change distances.
- Ignoring clearances for doors and cabinets. Shower doors need swing space.
- For curbless showers, not verifying threshold heights at doorways which can create tripping hazards.
Tips for drain alignment and floor slope
For efficient flow, showers need a slope of about 1 4 inch per foot toward the drain. When installing a tile floor or a mortar bed, build that slope into the subfloor layer. For tubs the important dimension is the drain outlet relative to the tub’s waste opening. Many replacement tubs are designed to match common outlet positions but always check.
Step by step installation process for common scenarios
Below are condensed steps for two frequent installations. These steps are not a substitute for local codes or manufacturer instructions but they give a clear outline of what to expect.
Shower installation basics
- Turn off water and remove old fixtures. Cap or close supply lines if they remain exposed during rough work.
- Repair or replace the subfloor if soft spots exist. Solid support reduces squeaks and movement.
- Install or adjust drain assembly. For tile showers, set a mud bed or preformed pan according to the chosen system.
- Set the waterproofing membrane. Overlap seams and follow product directions for sealing corners and penetrations.
- Install wall panels or tile. Allow proper cure time before grouting or sealing joints.
- Fit valve trim and showerhead then test the system for leaks and even temperature control.
Tub installation basics
- Check the subfloor and framing for level. A level base prevents stress on the tub shell.
- Place the tub and check drain alignment. Some tubs require blocking or mortar beneath the flange for support.
- Connect the drain and overflow assembly while the tub is accessible. Confirm watertight connections.
- Finish the surrounding walls with backer board and tile or prefabricated surrounds. Seal seams and joints carefully.
- Install trim and test water supply, drain performance, and overflow operation.
Waterproofing and drainage techniques that protect the structure
Water damage is one of the most common long term issues in wet areas. Invest time on correct methods that keep water where it belongs. For tiled showers the waterproofing approach matters more than tile choice. Applying a bonded waterproof membrane over the substrate or installing a liner beneath a mortar bed are both acceptable when done to manufacturer and local code standards.
Sealing around plumbing penetrations with flexible sealant reduces movement stress. In higher traffic homes choose grout sealers or grout with improved water resistance. For tub surrounds, use a backer board and a moisture barrier that extends behind the finished wall material to the tub rim.
When to hire a professional and how to choose one
Some jobs are well suited to the homeowner who has carpentry and plumbing experience. Others involve structural or plumbing changes that make hiring a licensed tradesperson the practical choice. Moving drains, altering load bearing walls, and working with gas water heaters are situations worth handing to a pro.
If you want a single source that manages permits, schedules trades, and provides warranties consider a locally established contractor. Local references and clear estimates are important. Read the scope of work carefully and ask which portions of the job include warranty coverage.
To explore options from a company experienced with bathroom projects visit shower and tub installation for service descriptions and contact details.
Common problems during and after installation and how to prevent them
A handful of recurring issues show up in many projects and most are avoidable. Leaks and loose tiles often stem from poor waterproofing. A shower door that does not close or a tub that wobbles usually ties back to inaccurate measuring or insufficient support. Poor water pressure or uneven temperatures can point to undersized supply lines or worn valves.
- Test for leaks before finishing walls. Run the system and look for damp spots in adjoining spaces.
- Use proper fasteners and blocking to mount heavy items like grab bars and benches.
- Choose fixtures with replaceable cartridges or parts to simplify repairs later.
- Keep records of model numbers and warranty information for valves, tubs, and shower systems.
Maintenance tips help preserve the finish and function. Rinse soap scum frequently, address grout cracks quickly, and replace failing caulk rather than covering over it. For mechanical parts replace cartridges and washers at the first sign of wear to prevent more invasive repairs.
Installing showers and tubs takes planning and practical decisions. You can reduce cost overruns by measuring once and verifying drain and supply locations. Choose materials that match the use and maintenance you expect. Waterproofing is an area where investing in correct techniques pays dividends over the life of the installation. When plumbing reconfiguration or structural change is required consider a licensed tradesperson who will manage permits and compliance.
If you are ready to move forward check local codes, collect measurements, and get at least two written estimates if hiring out the work. Small projects can often be completed on a weekend with proper prep while larger undertakings may require staged work and careful coordination. Taking the time to plan and to use proven methods will give you a functional bathroom that stands up to daily use and looks great for years.